Step 7 — Creating your first Microsoft Marketplace Listing, As Easy as 1-2-3 and Go Live.
14 min
WeTransact simplifies Microsoft Marketplace listing creation into three clear, guided steps — helping you go live faster and with confidence.
🟣 Click on Create and 'Create Product Listing'
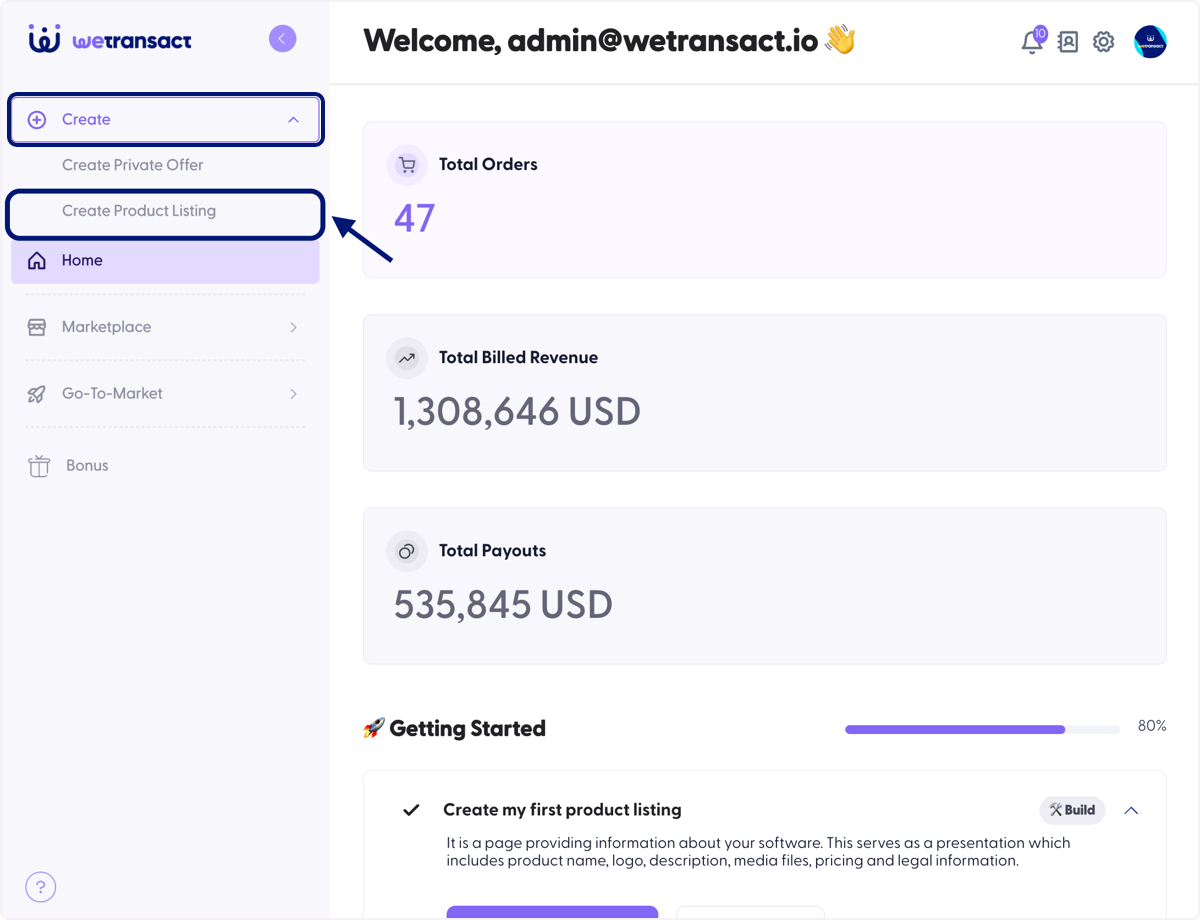
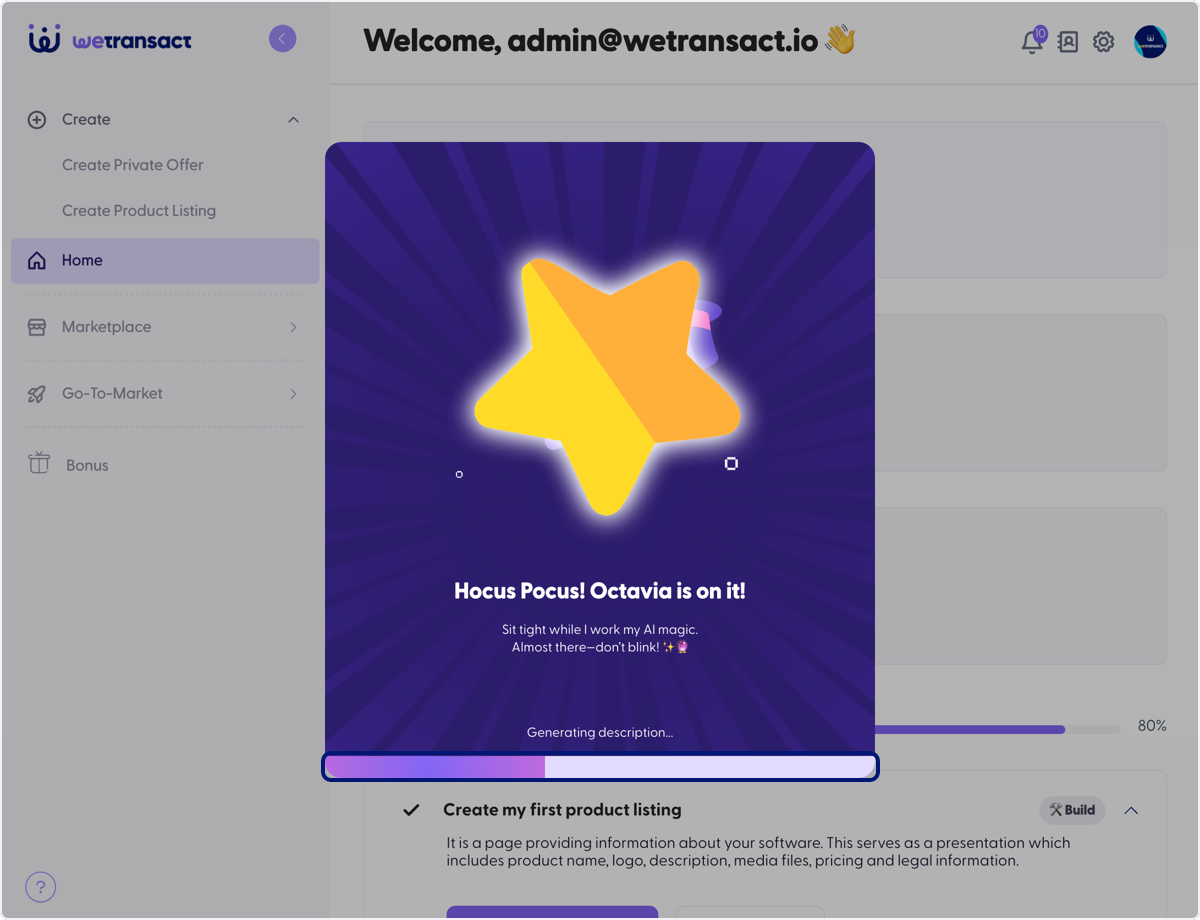
🟣 Click on Octavia AI, Do Your Magic ✨
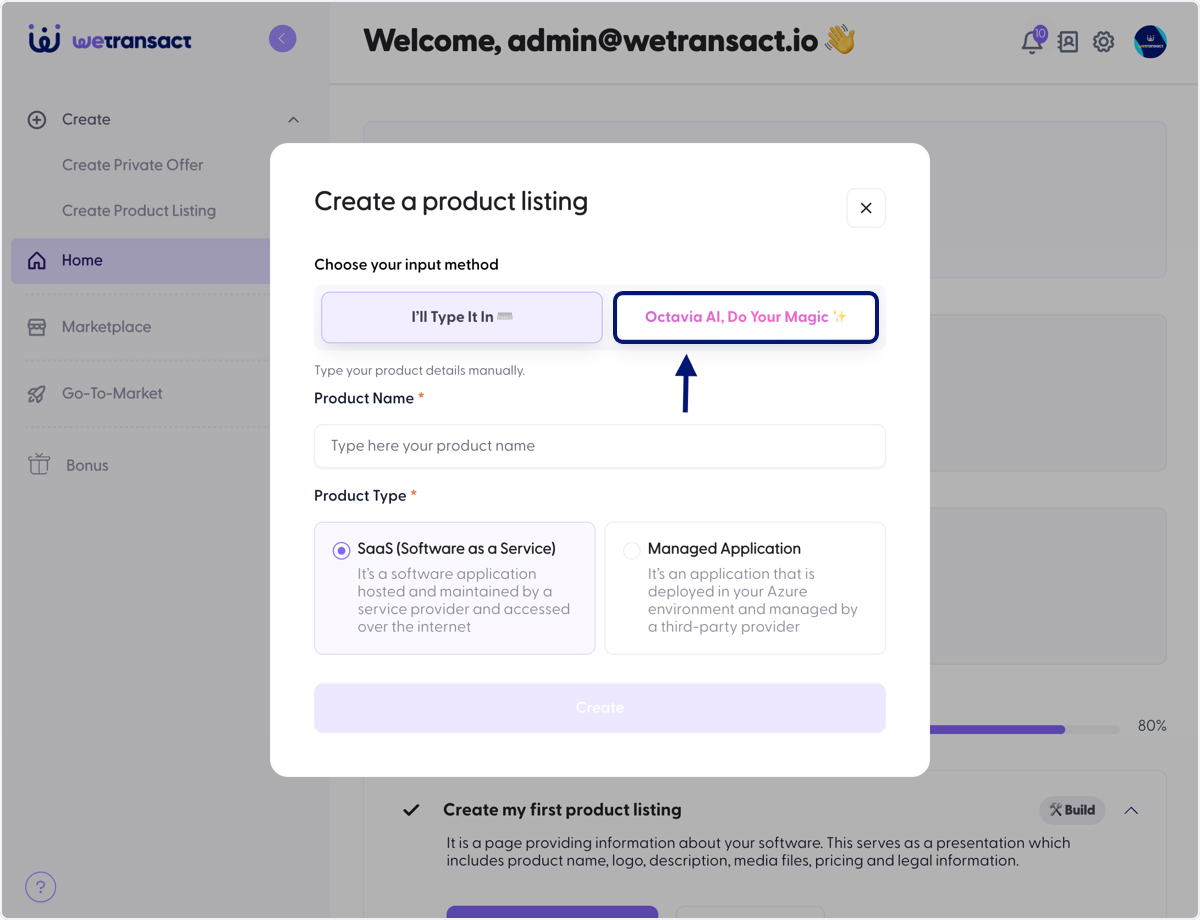
🟣 Type "your website name" and select type of listing SaaS or Managed Application
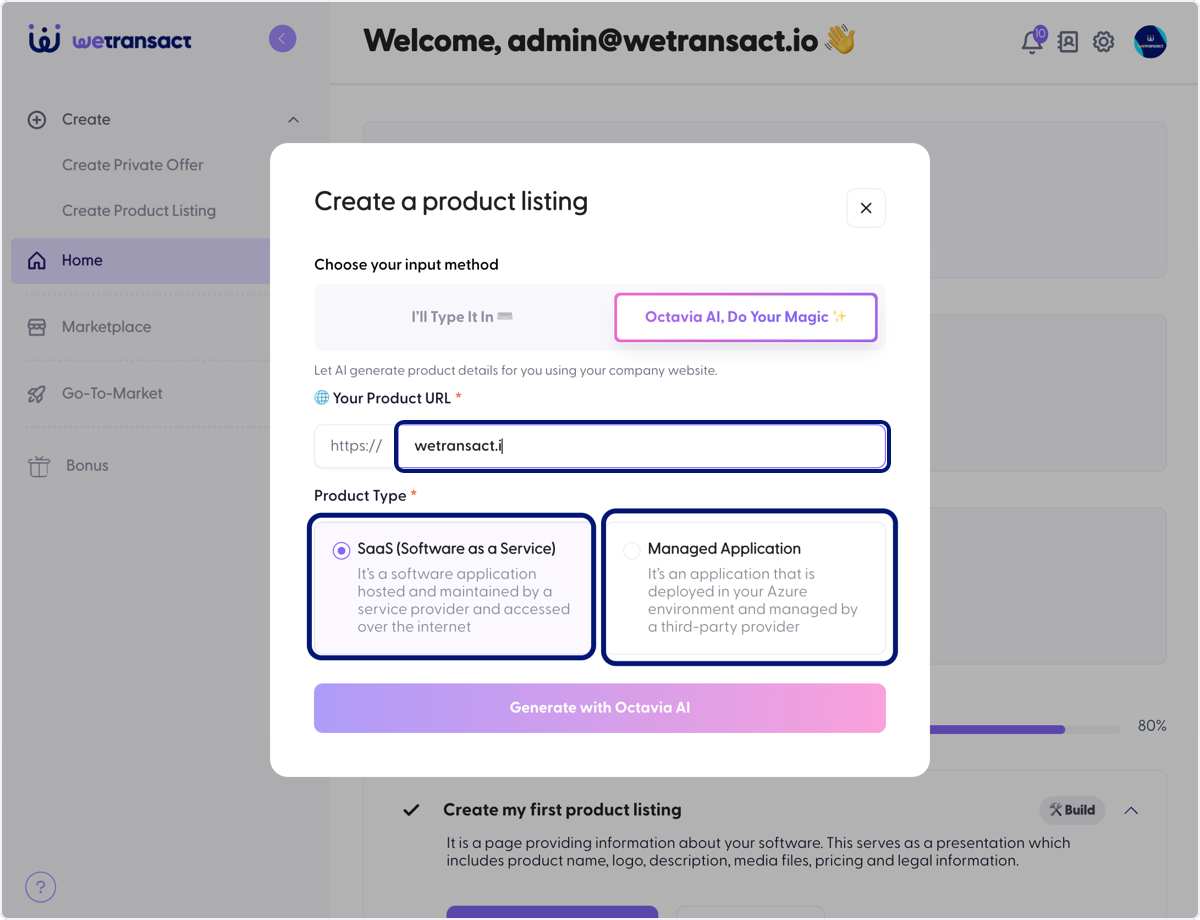
🟣 Click on Generate with Octavia AI
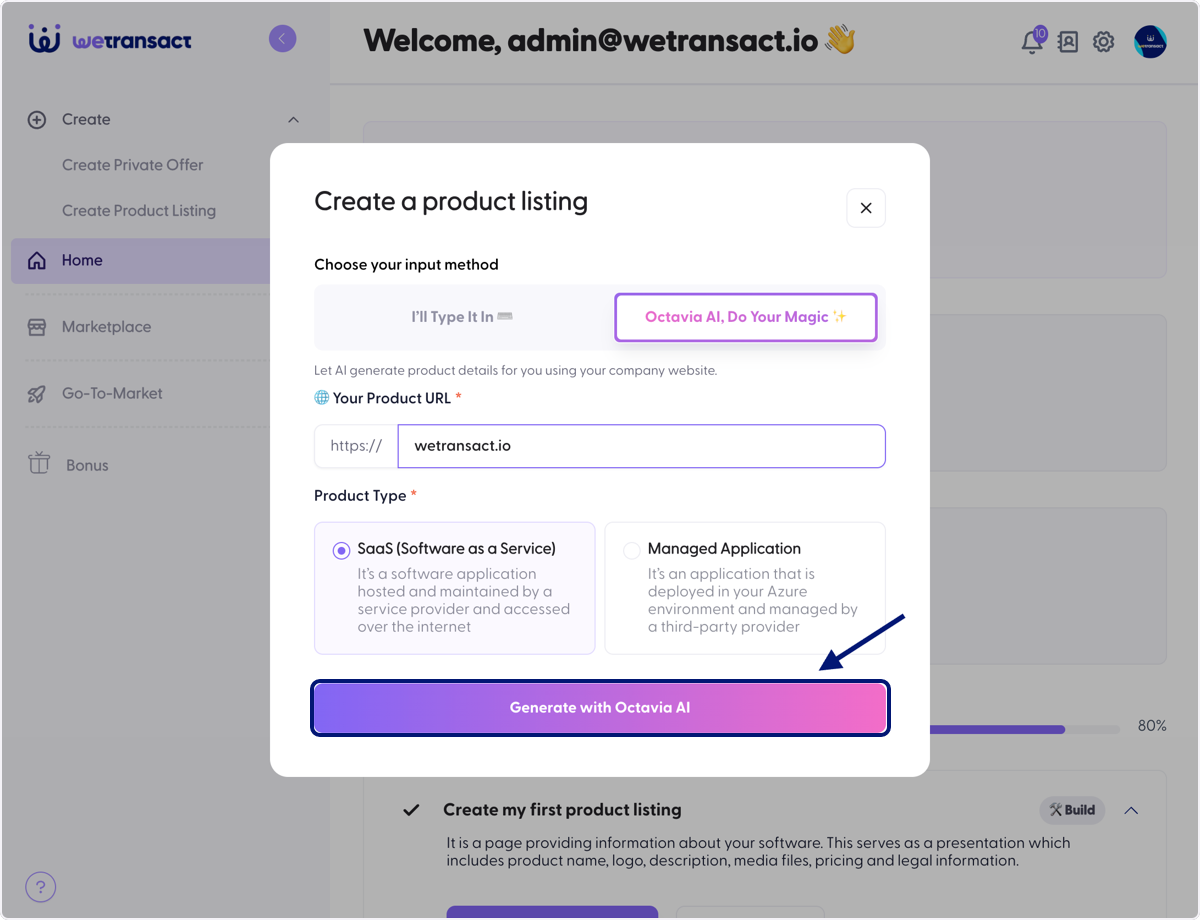
🟣 Octavia will start creating the listing and fetching the data from your website
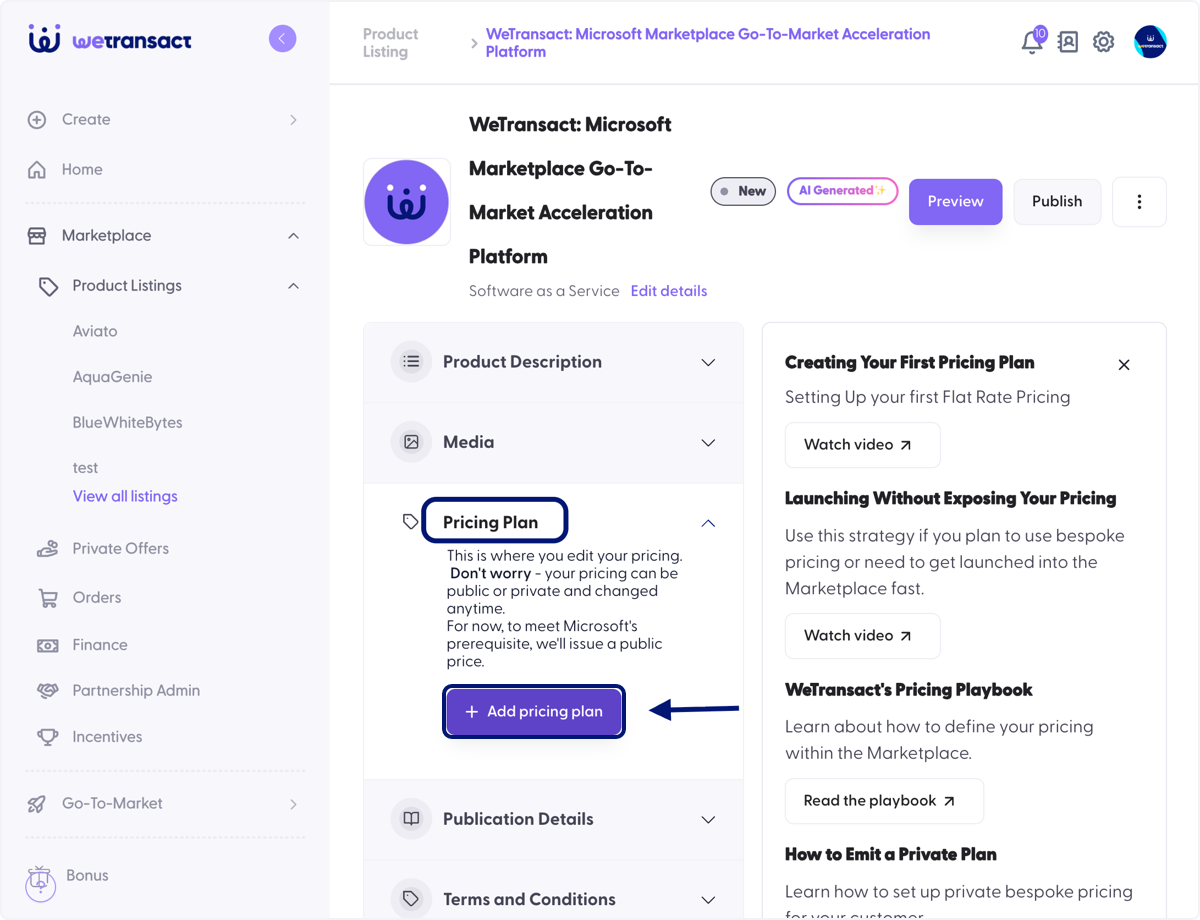
🟣 Click on Pricing and Add pricing plan
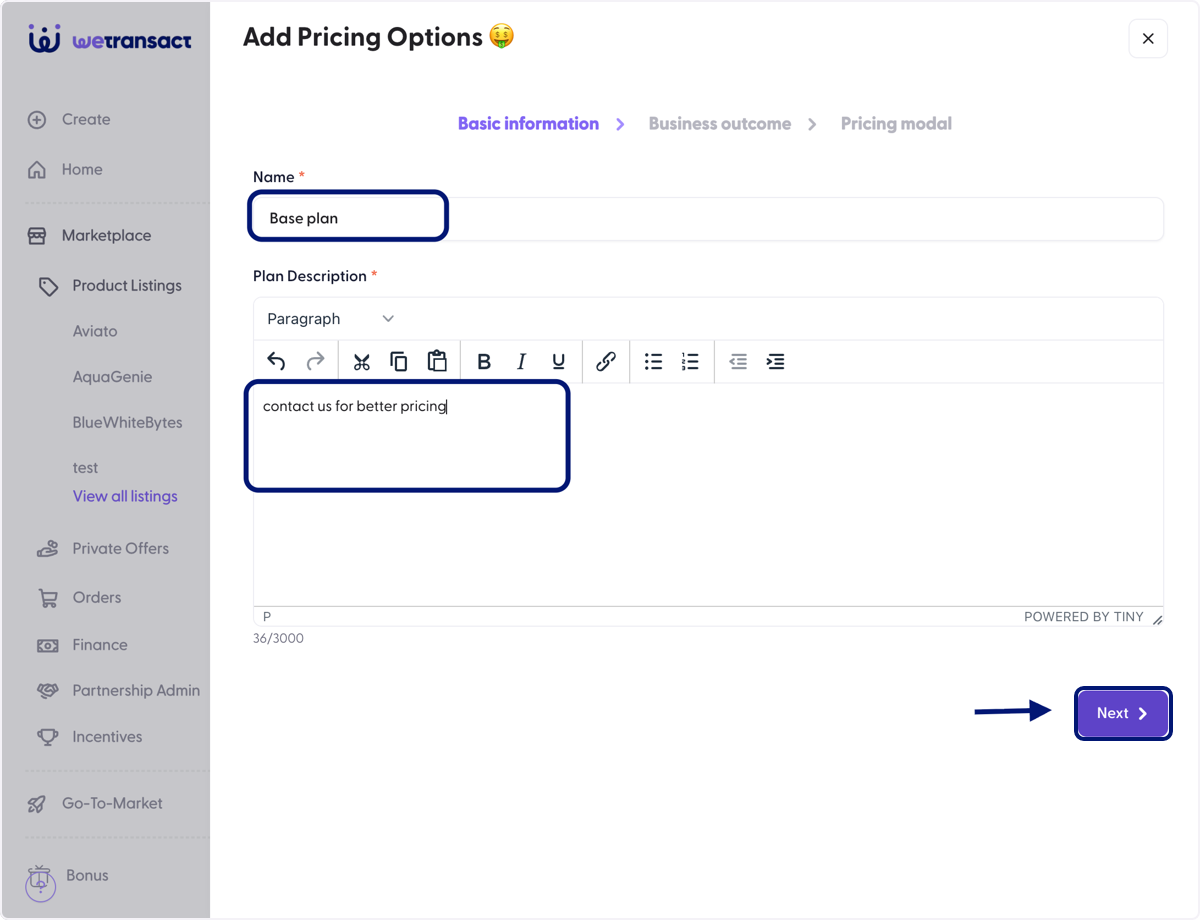
🟣 Type your plan name as you wish such as "Base plan" and Plan Description and click Next.
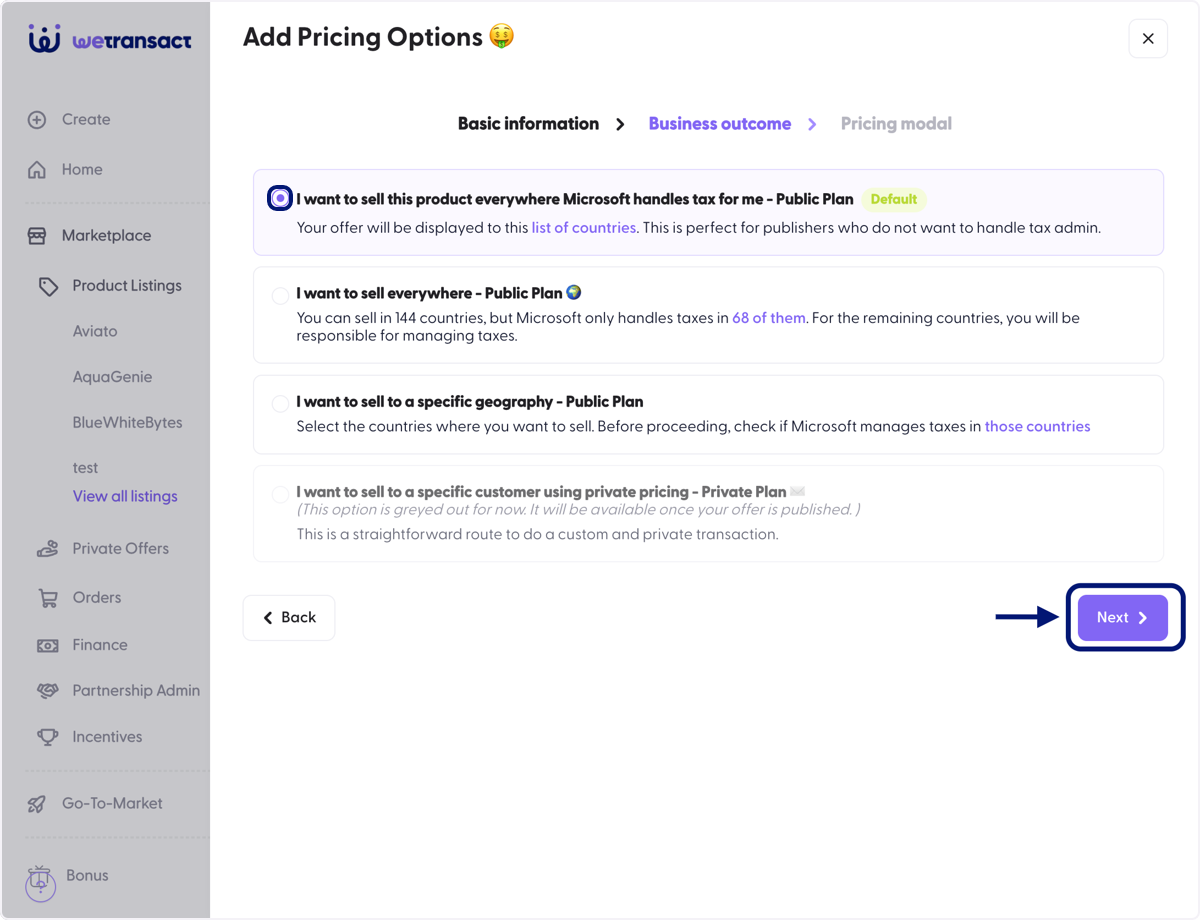
🟣 Select I want to sell this product everywhere Microsoft handles tax for me - Public Plan… and click Next
🟣 Select pricing model, Flat rate or Per user accordingly, add subscription length
If you have multiple Subscription length, please click on "Add Alternative Billing Options" to add more.
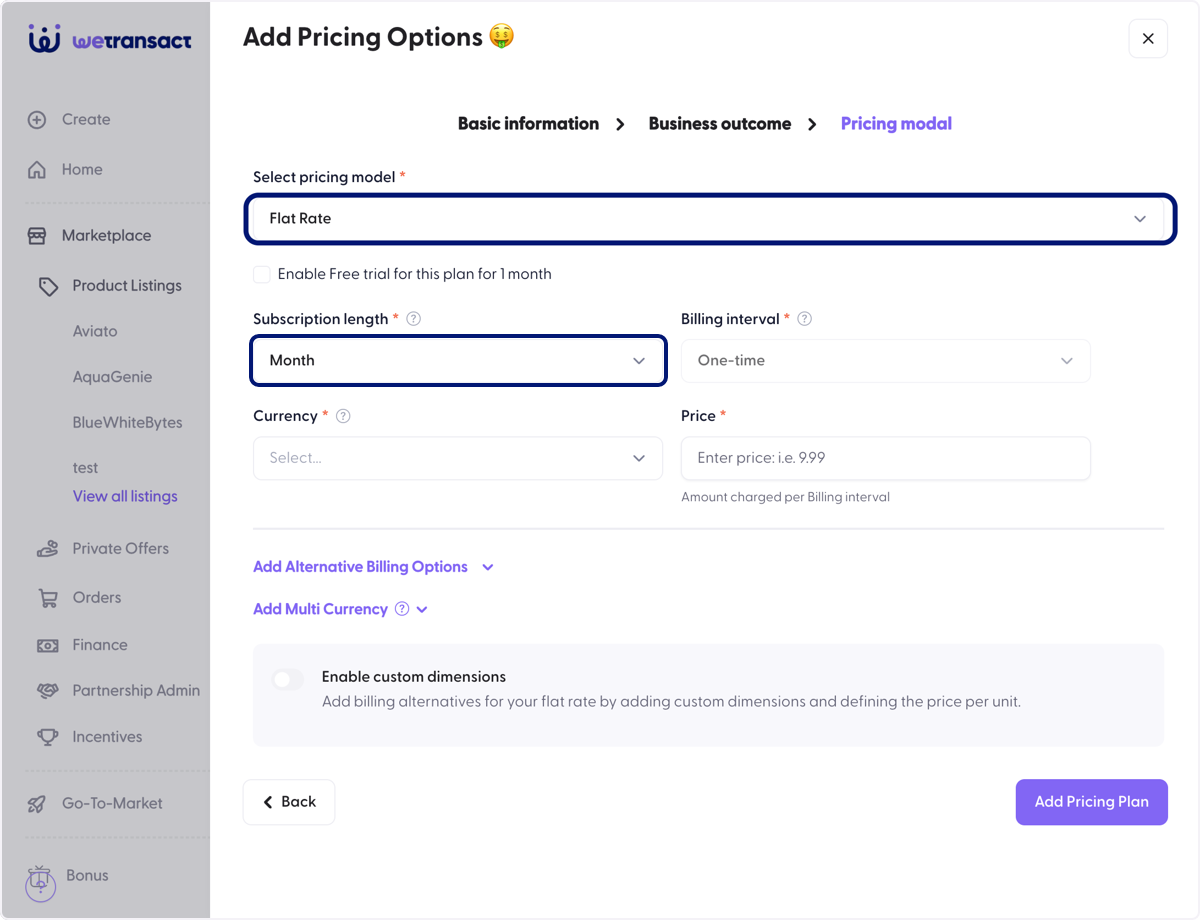
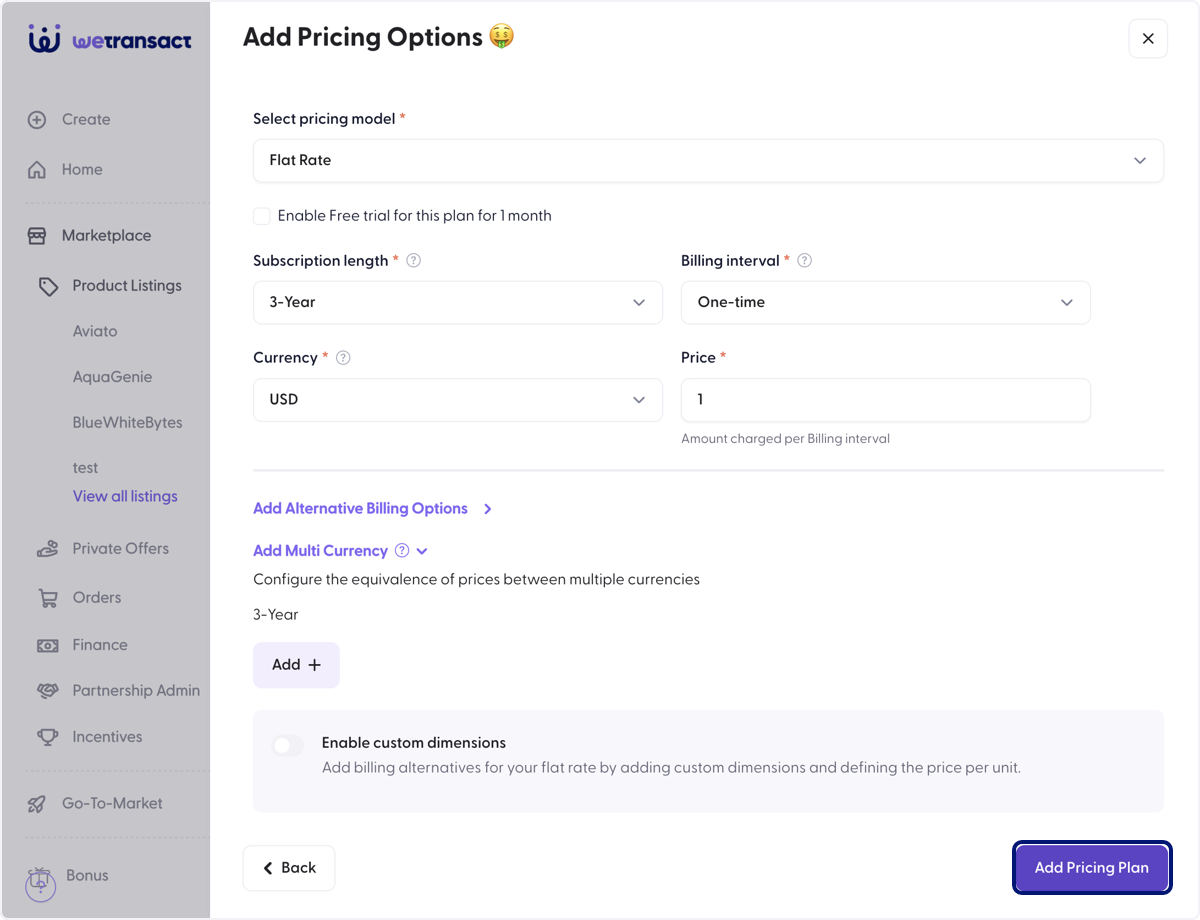
🟣 Add $ 1 dummy pricing and select currency and click on Add pricing
Microsoft Marketplace requires at least one public pricing plan above $0 for a listing to be transactable. A dummy pricing plan meets this requirement while allowing you to keep actual pricing private and handle commercial discussions off-platform.
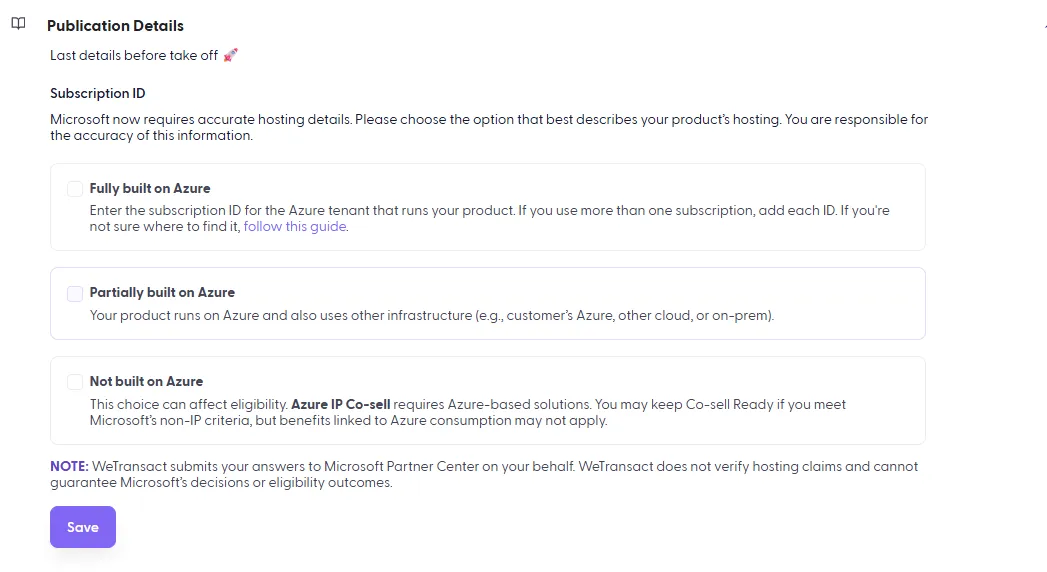
🟣 Click on Publication Details, choose the option that best describes your product's hosting.
If it's "Fully built on Azure", follow this guide to locate the subscription and paste it here.
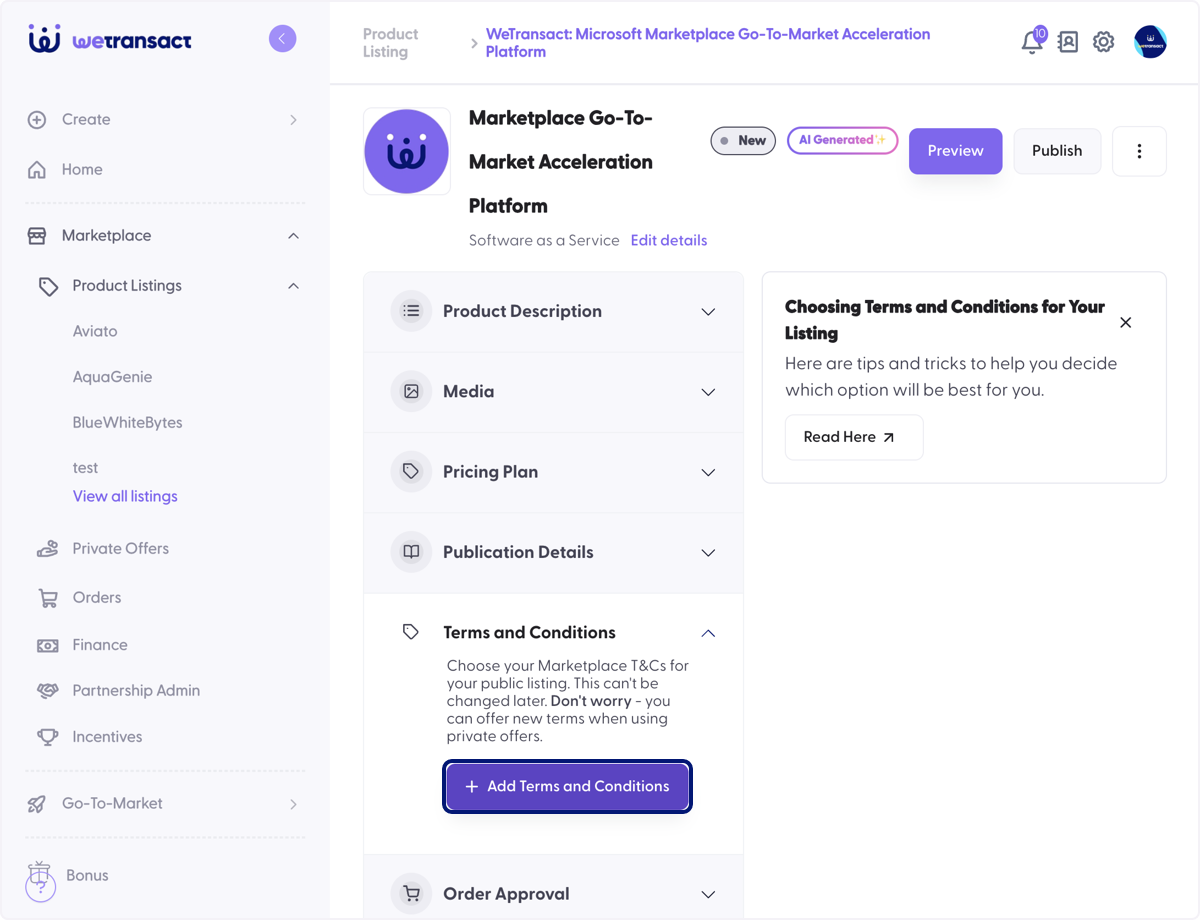
🟣 Click on Add Terms and Conditions
🟣 Select I want to use Microsoft's standard contract.… you can also use your existing terms
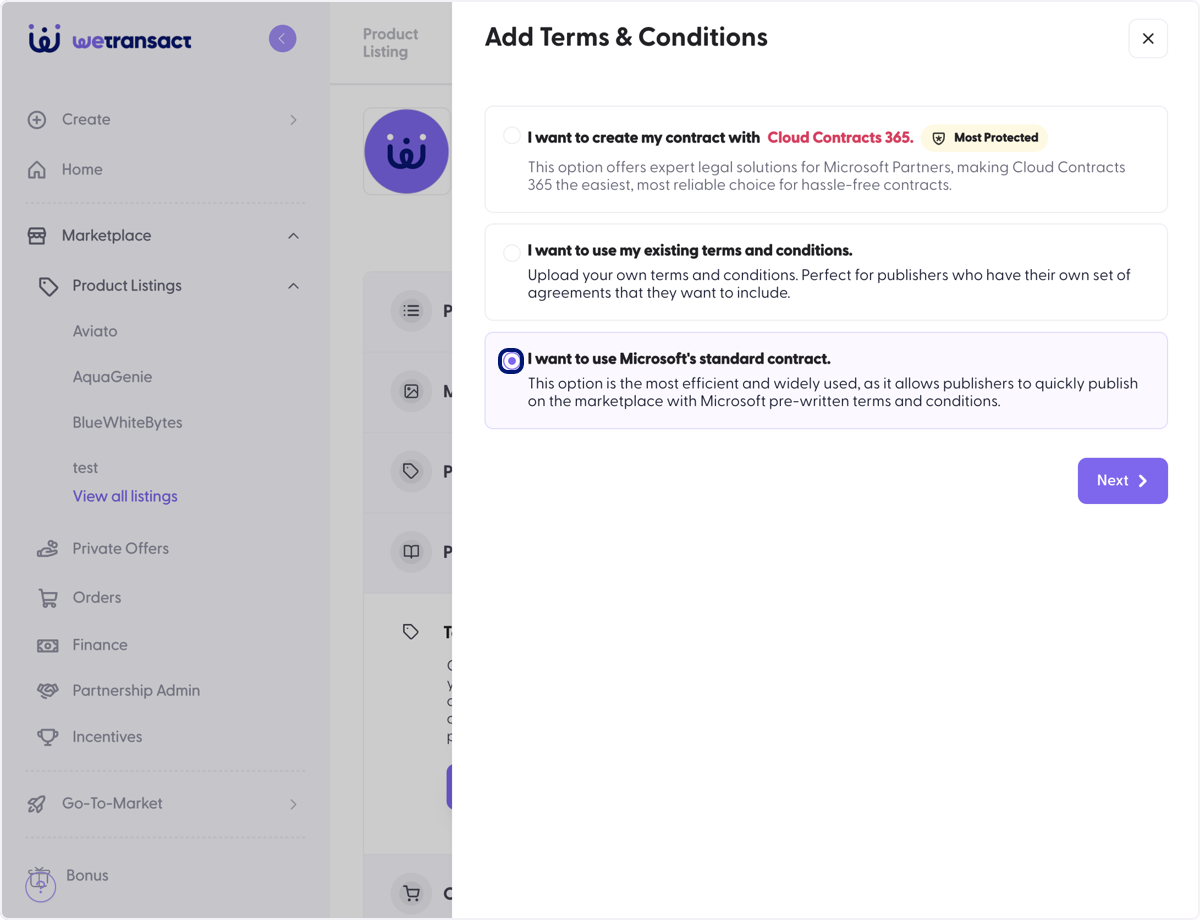
🟣 Select I want to use Microsoft's standard contract and select Submit
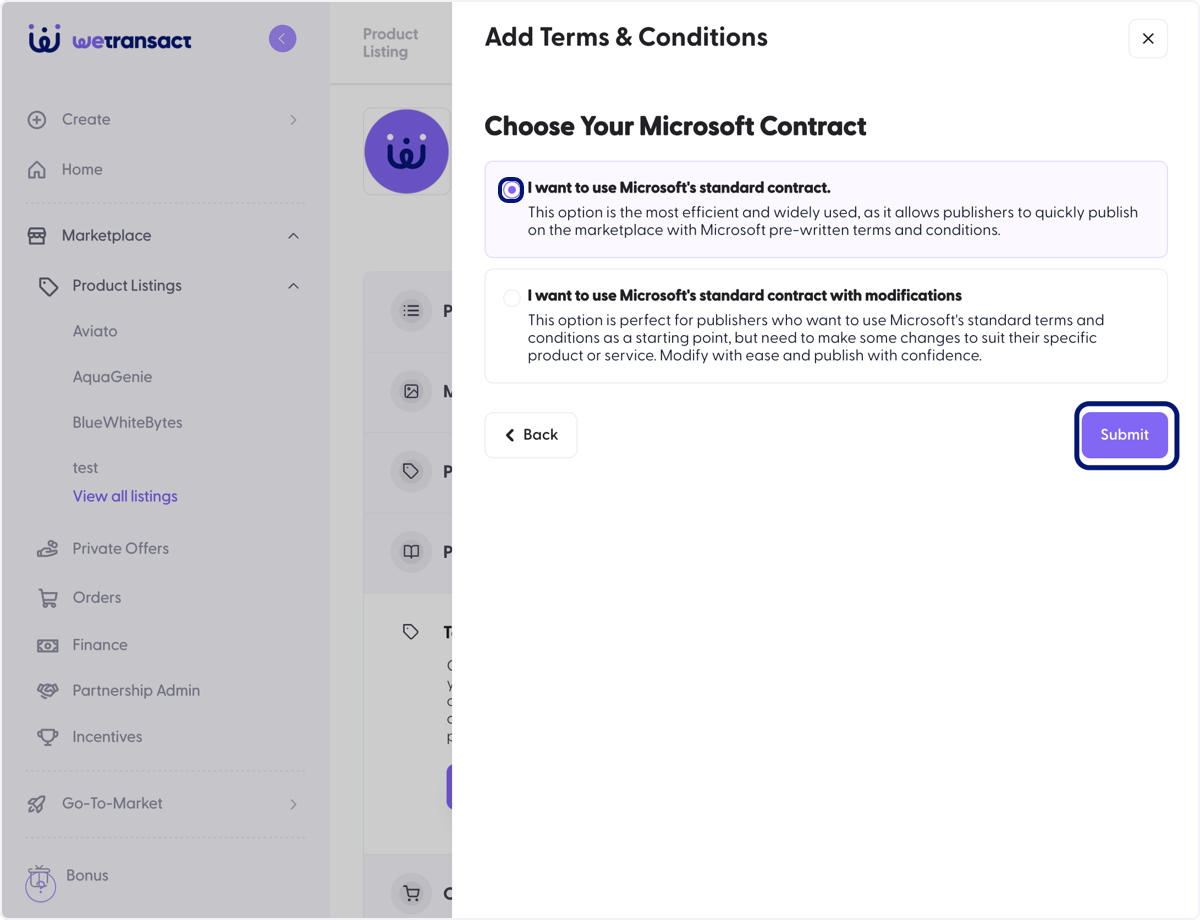
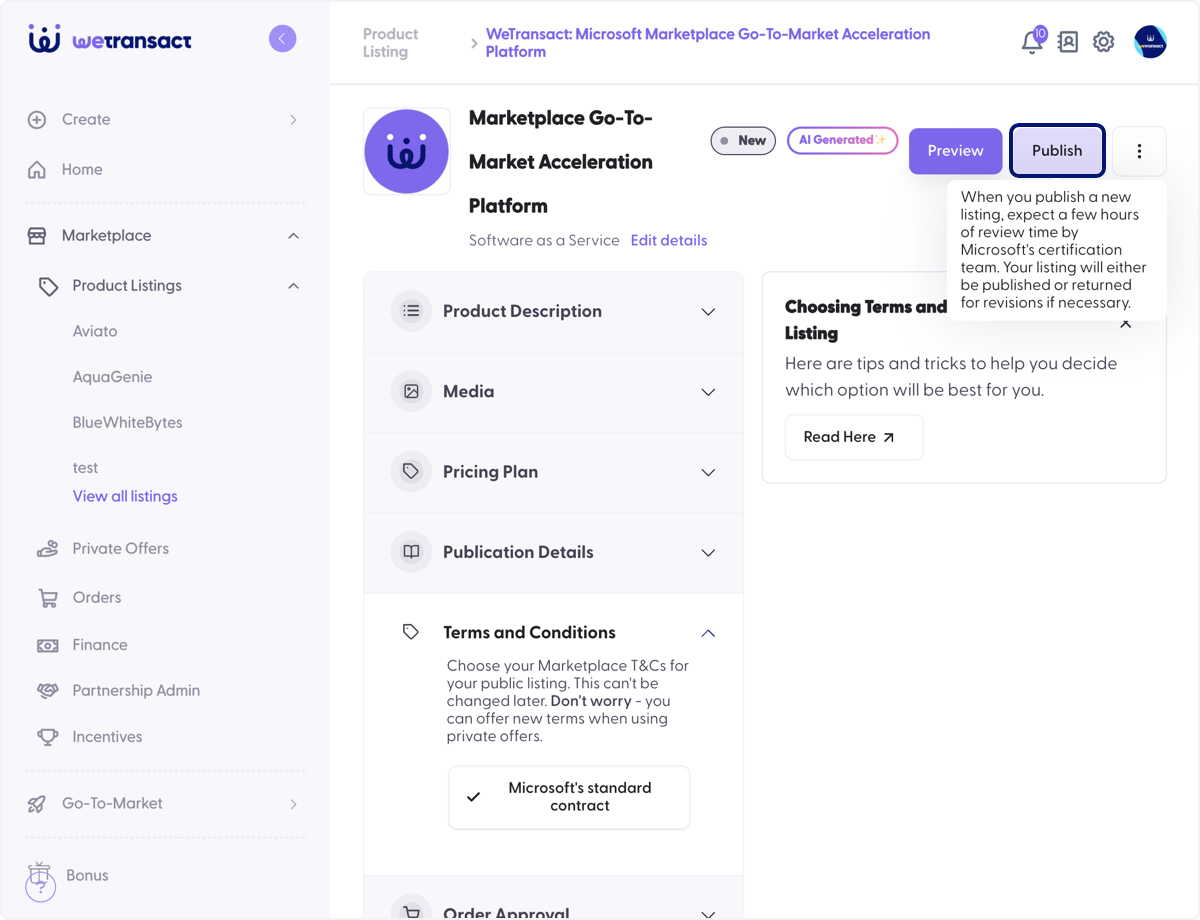
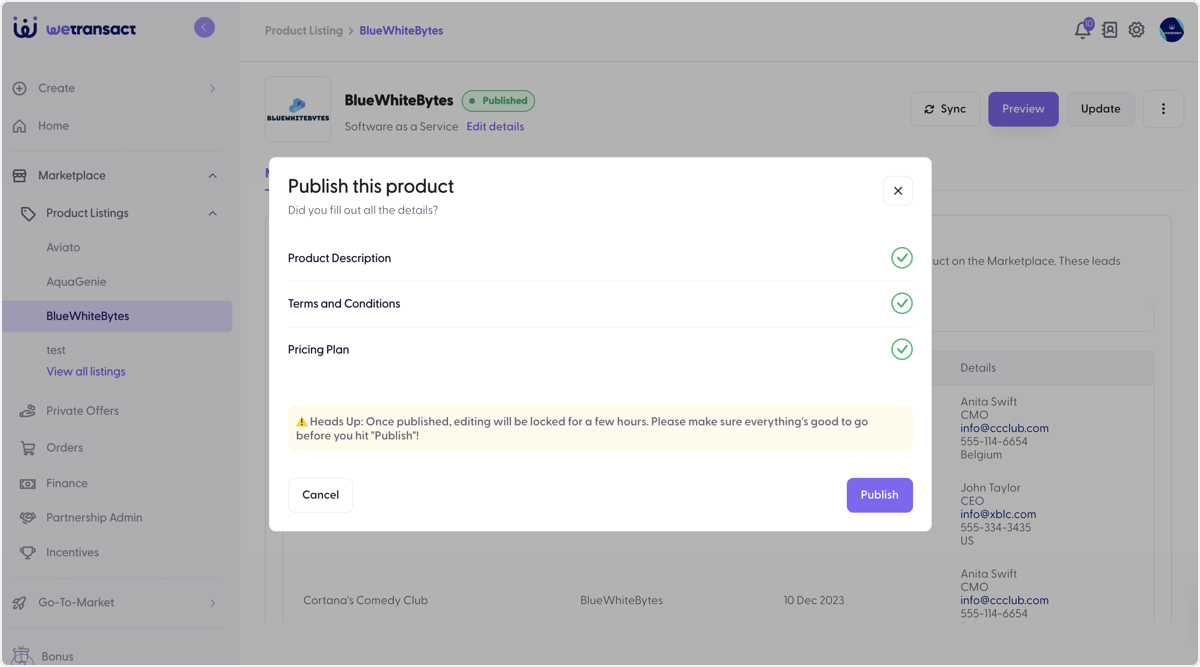
🟣 Click on Publish
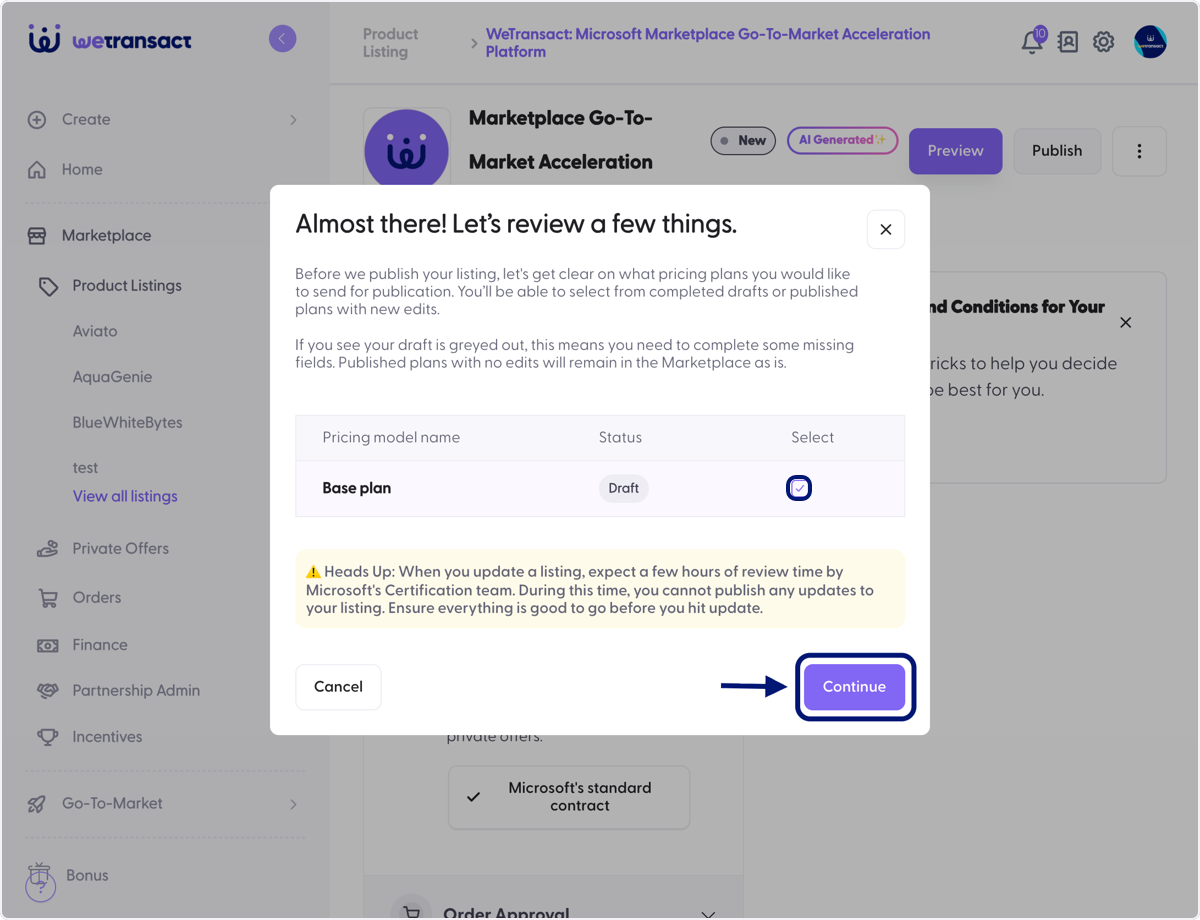
🟣 Select the pricing plan and click on Continue.
🟣 Click on Publish
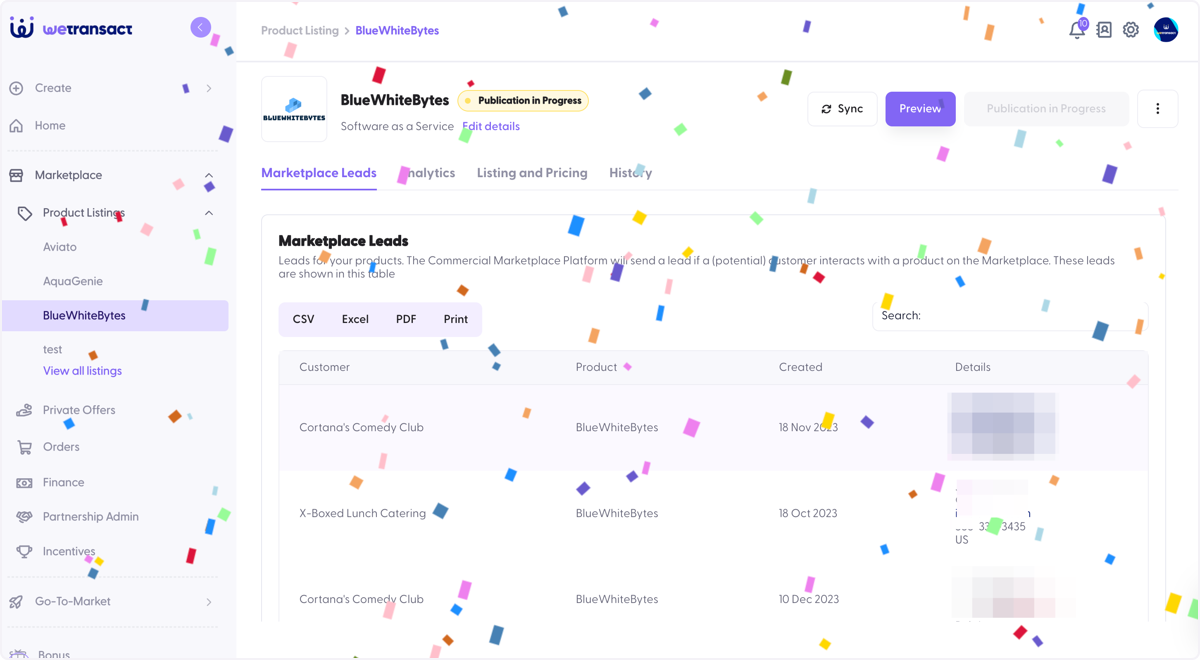
🟣 A little celebration
and your listing will go under publication and less than 24 hours you will have a live transactable offer on Azure marketplace like Magic 🚀
💬 For more, contact us at : [email protected]